
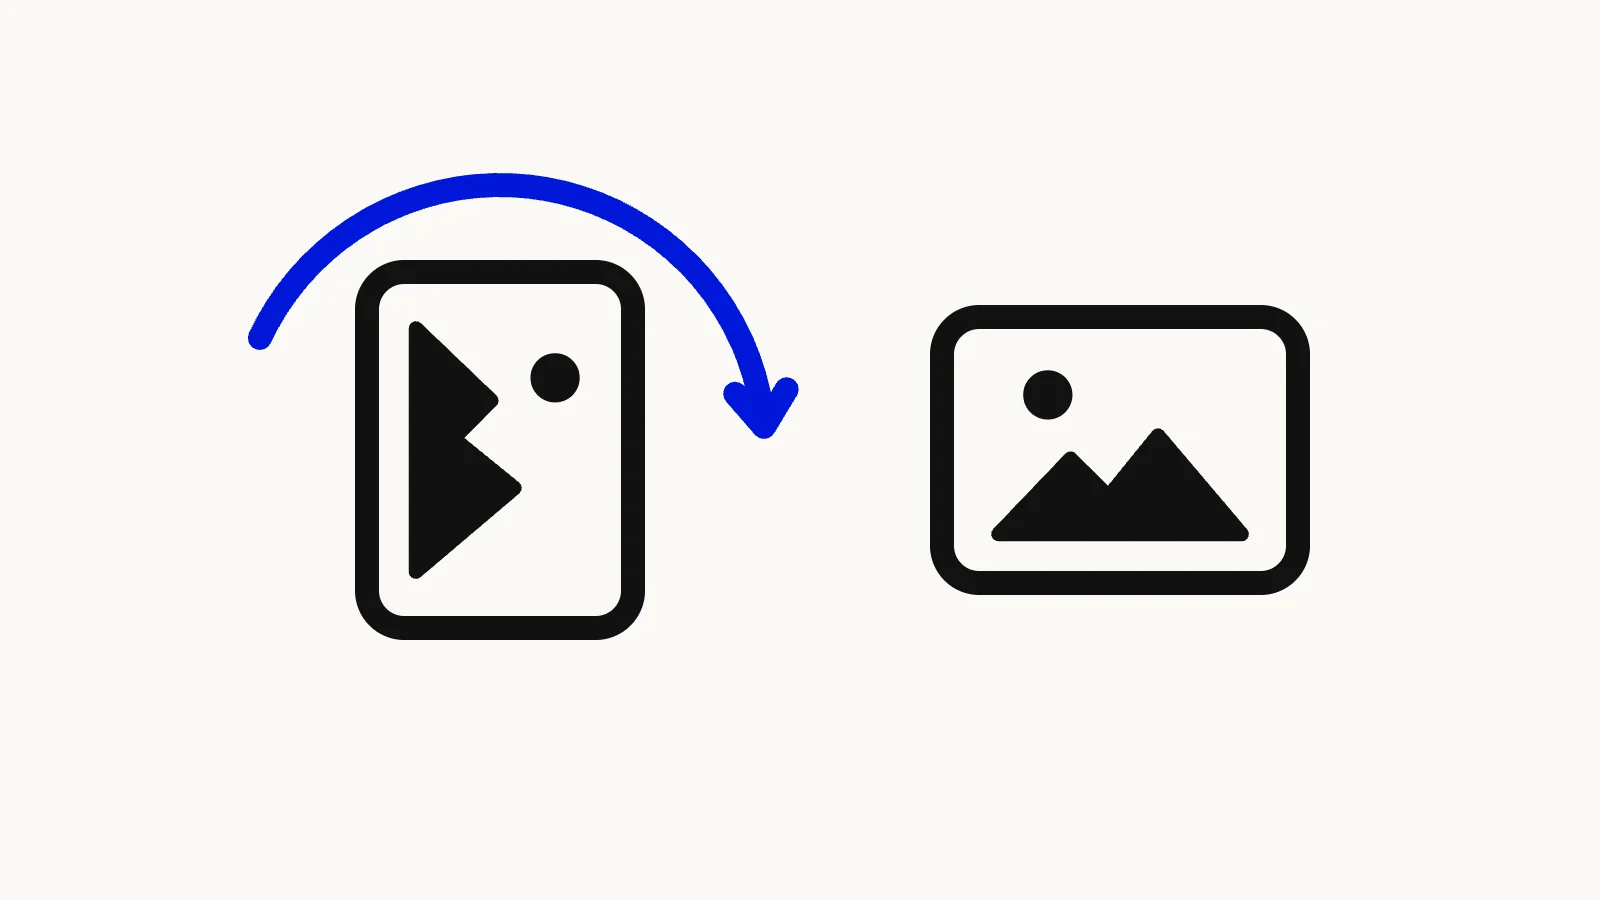

A photo that looks fine on your phone can show up sideways or upside down the moment you upload it somewhere. The quick fix is to rotate the image and save it again. The Image Rotator turns a picture 90° left, 90° right, 180°, or any angle from -180° to 180°, right in your browser, with no sign-up. The saved file has the new orientation baked into its pixels, so it looks the same everywhere.
Quick route
- Photo is sideways or upside down? Use the Image Rotator and click Rotate left 90°, Rotate right 90°, or Rotate 180°.
- Horizon or wall a few degrees off level? Use the same tool and set a small angle with the slider.
- Text reads backwards instead of sideways? That is a mirror image. Use the Image Flipper instead.
- Just want to turn a photo on your phone or computer? The built-in steps for iPhone, Android, Windows, and Mac are below.
Why your photo is sideways after upload
Most "sideways photo" problems are not a rotation problem in the picture itself. They come from a small note stored inside the file.
Many cameras save the image exactly as the sensor captured it, then record in the file's Exif metadata how it should be turned for display. That note is the Orientation tag, defined by the Exif standard that CIPA publishes. Wikipedia lists it as a tag with eight possible values. Hold your phone upright and the pixels may still be stored landscape, with a tag saying "turn this 90° to the right".
Whether you see the photo upright depends on the software that opens it. In browsers, the CSS property image-orientation controls this, and MDN says its default, from-image, uses the Exif information in the image "to rotate the image appropriately". Setting it to none shows the image as stored (MDN, "image-orientation"). Your phone gallery and a modern browser honor the tag. An upload form, a document editor, an older viewer, or a script that reads raw pixels may not, and then you see the photo as stored.
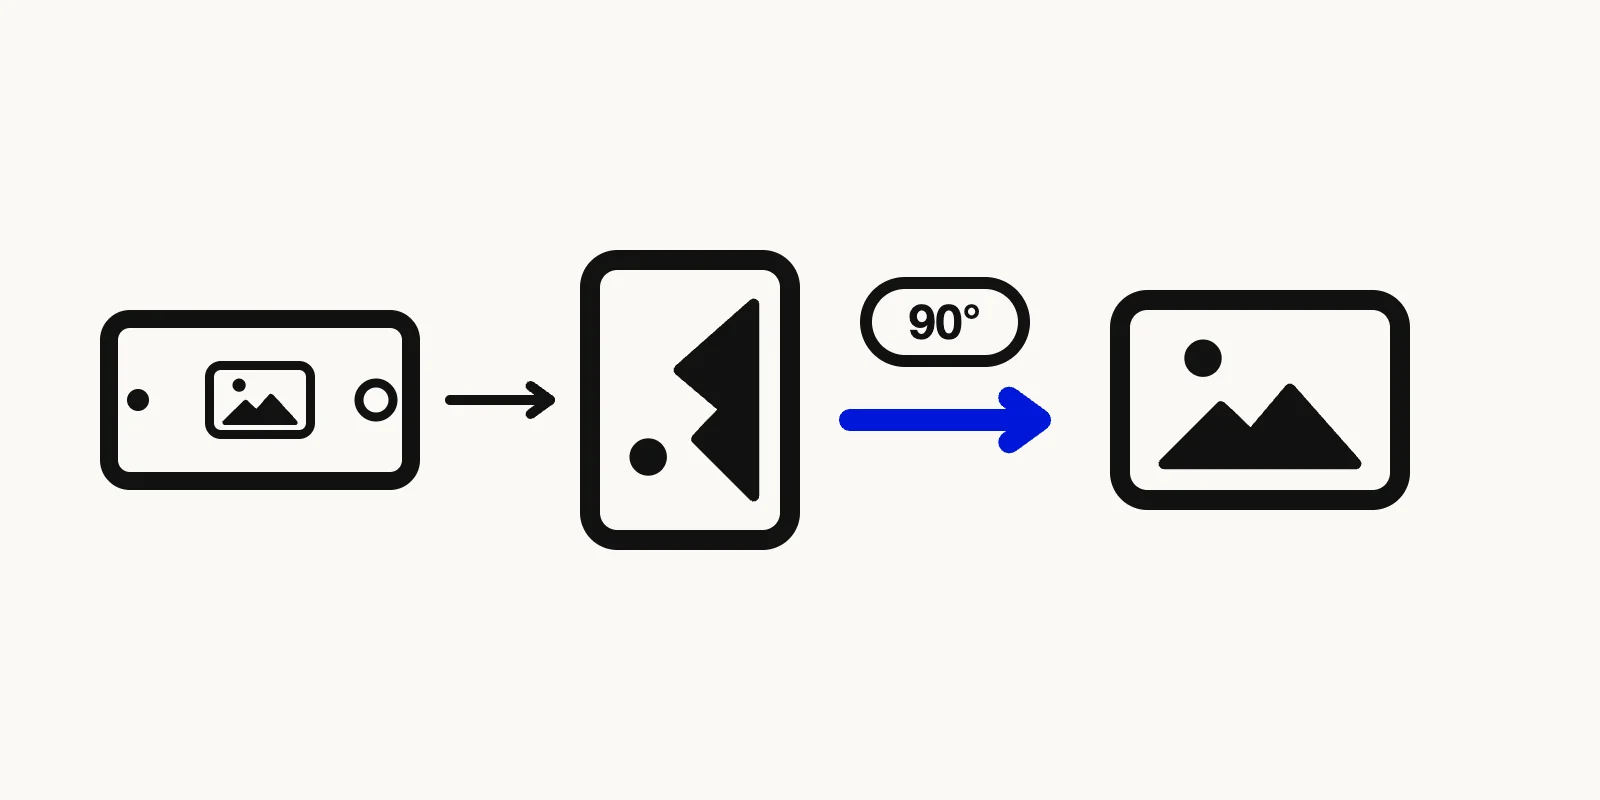
Illustration of a photo stored sideways with an orientation note in its metadata, shown upright in one app and sideways in another.
The reliable fix is to stop depending on the note. Rotate the picture so the pixels themselves are upright, and save a copy without the tag. That is what the Image Rotator does: it redraws the image on a canvas at the angle you choose and encodes a new file. Exif metadata is not carried into that copy, so there is no Orientation tag left to disagree with the pixels. As a side effect, location and camera details are not copied either, which helps when you are about to post the picture publicly.
One honest caveat: the tool relies on your browser to decode the file. If your browser shows the photo sideways in the preview, rotate it until the preview looks right and download that. If the preview is already upright but other apps show it sideways, click Rotate image at 0°. The button still works at 0°, and the new file is saved with the upright pixels.
How to rotate an image online, step by step
This works the same on Windows, Mac, Chromebook, Android, and iPhone, because everything runs in the browser tab.
- Open the Image Rotator and drop in one photo. JPG, PNG, WebP, AVIF, HEIC, and HEIF are accepted, up to 50 MiB per file. GIF and BMP are rejected, and the tool handles one image at a time, with no batch or ZIP.
- Click Rotate left 90°, Rotate right 90°, or Rotate 180°. Each click adds to the current angle, so two clicks on Rotate right 90° give you 180°. For anything else, drag the Angle slider or type a number between -180 and 180. Positive angles turn the picture clockwise. The preview updates live, and Reset puts the angle back to 0.
- Pick an Output format: PNG, JPG, or WebP. JPG sources default to JPG, WebP sources default to WebP, and everything else (PNG, AVIF, HEIC) defaults to PNG.
- Click Rotate image, then Download rotated image. The file keeps its base name with
-rotatedadded, for examplephoto-rotated.jpg.
The image is processed inside your browser and never uploaded. Images up to 40 megapixels and 16,384 pixels on the longest side are supported. JPG and WebP output is saved at a quality setting of 0.92 and PNG is lossless, so a JPG gets one extra round of compression. For photos that is rarely visible, but choose PNG if you plan to edit the file again.
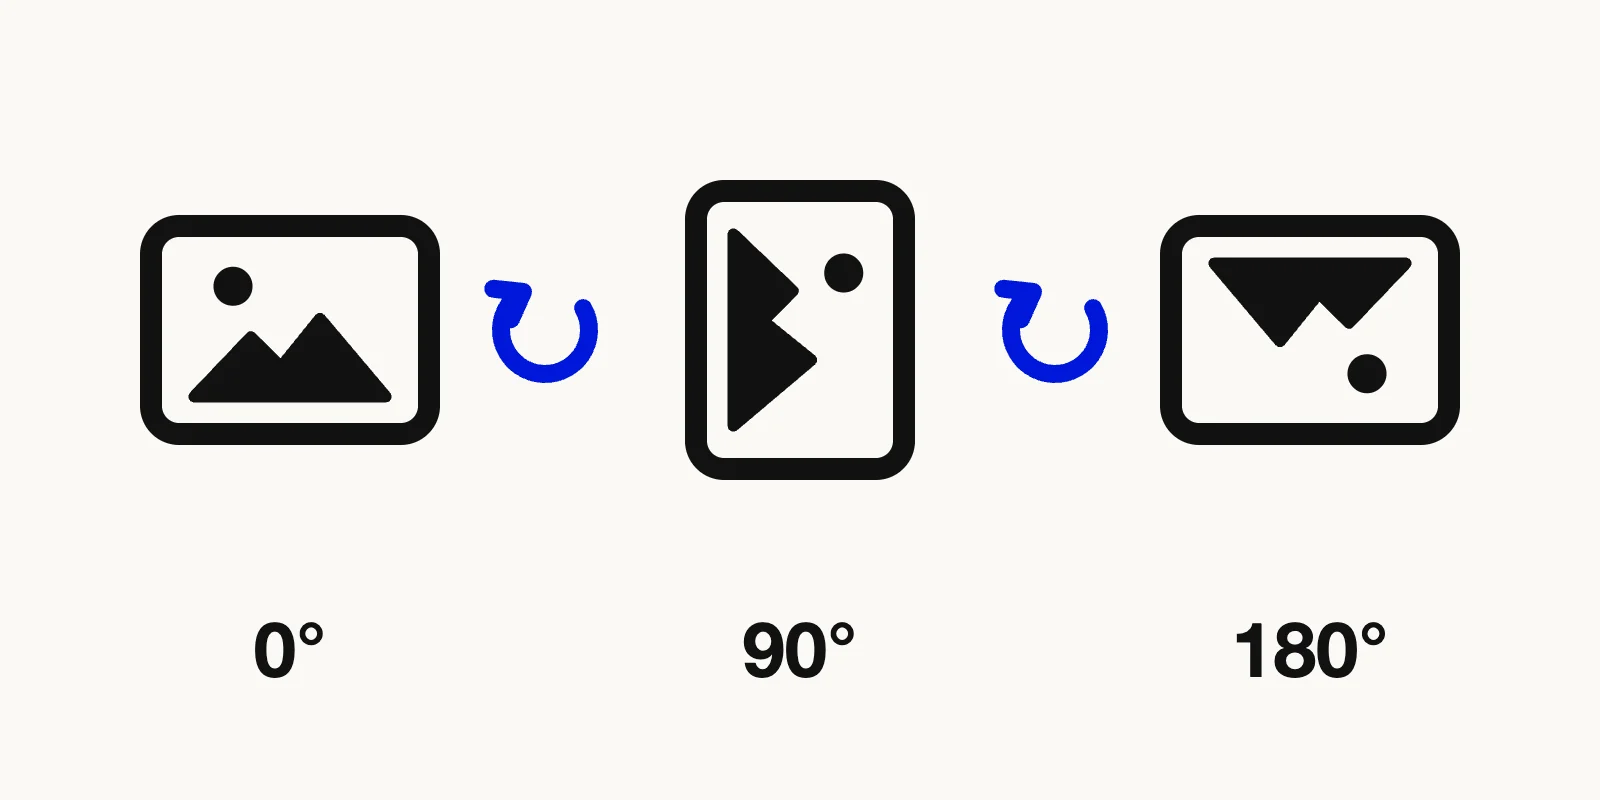
Illustration of a sideways photo being turned with 90 degree buttons and an angle slider, then downloaded as a rotated copy.
What happens with angles that are not 90°
A 90° or 180° turn keeps the same rectangle. For 90° the width and height swap, and no pixels are resampled, so the result is crisp.
Any other angle tilts the rectangle, and a tilted rectangle needs a bigger box to avoid cutting off its corners. The tool grows the canvas to fit the whole rotated picture, so a 45° turn produces a noticeably larger image than the original. The new corners have nothing in them. With PNG or WebP output they stay transparent. With JPG, which cannot store transparency, they are filled with white. The pixels also have to be resampled at these angles, so edges can look very slightly softer than a 90° turn.
The most common use of a small angle is straightening. If a horizon leans a couple of degrees, nudge the slider until the line looks level and download. Keep in mind that a straightened photo has white or transparent wedges in its corners. Run it through the Image Cropper afterwards to trim them off.
How to rotate a photo on iPhone
The Photos app can do it without an extra app. Open the photo, tap Edit, and use the crop tools. The Rotate button turns the image 90 degrees each time you tap it, and you finish with Done (Apple Support, "Crop, rotate, flip, or straighten photos and videos on iPhone"). The same page covers straightening a tilted photo.
How to rotate a photo on Android
In Google Photos, open the photo, tap Edit, then Crop. Tap Rotate to turn the photo 90 degrees, or Straighten to adjust the photo's orientation by a small angle (Google Photos Help, "Edit your photos & videos"). If you use another gallery app, the browser method above works on any Android phone.
How to rotate an image on Windows and Mac
Windows: open the picture in the Photos app and choose Edit image (Ctrl + E). In the crop tools you can rotate left or right by 90 degrees, or by smaller steps with the slider (Microsoft Support, "Edit photos and videos in Windows").
Mac: open the image in Preview and click the rotate button in the toolbar to turn it to the left. Hold the Option key while clicking to turn it to the right (Apple Support, "Crop, resize, or rotate an image in Preview on Mac"). Preview can also rotate several images at once if you open them in the same window, which is something the Image Rotator does not do.
Rotate or flip: which one do you need?
Rotating turns the picture around its center, so text stays readable. Flipping mirrors it, so text reads backwards. A sideways or upside-down photo needs a rotation. A mirrored selfie or backwards logo needs a flip, and the Image Flipper handles that with separate horizontal and vertical toggles. Flipping both ways at once has the same result as a 180° rotation.
FAQ: rotating images
Does rotating an image reduce its quality?
A 90° or 180° turn only moves pixels, so nothing is lost in the rotation itself. The only loss comes from saving. PNG is lossless, while JPG and WebP are re-compressed at 0.92 quality, which is hard to see in ordinary photos. Angles that are not multiples of 90° also resample the pixels, which can soften edges slightly.
Why does my photo look correct on my phone but sideways on a website?
Your phone is probably reading the Exif Orientation tag, and the website, app, or script is showing the pixels as stored. Rotate the image so the picture is upright, then save a new copy. Because the Image Rotator does not copy Exif data into the new file, the copy has no tag to be misread. If the file is large, you can shrink it afterwards by following our guide to reducing image file size.
Can I rotate several photos at once?
Not in this tool. It processes one image at a time and has no batch mode or ZIP download. For a handful of photos, run them through one after another. On a Mac, Preview can rotate several images together, as described above.
Rotate your image now
Most rotations take under a minute. Open the Image Rotator, turn the picture until it looks right, and download a copy that stays upright in every app. If the picture is mirrored rather than turned, the Image Flipper is the right tool.