

Inverting an image swaps every color for its opposite: black turns white, white turns black, red becomes cyan, and a normal photo turns into something that looks like a film negative. The Image Inverter does it in one step in your browser and gives you a downloadable file, which is different from the "invert colors" switch on your phone or computer. That switch only changes how the screen looks.
Quick route
- Use the Image Inverter to save an inverted copy of a JPG, PNG, WebP, AVIF, or HEIC image, up to 50 MB.
- Leave Keep transparent pixels unchanged on for logos and icons with transparent backgrounds. Save as PNG or WebP to keep that transparency.
- To get the original back, invert the inverted file again. Inverting twice returns the same colors.
What "invert colors" actually does
Every pixel in a typical image stores three numbers, one each for red, green, and blue, from 0 to 255. Inverting replaces each of those numbers with 255 minus the original. A pure white pixel (255, 255, 255) becomes pure black (0, 0, 0). A bright orange (255, 140, 0) becomes a deep blue (0, 115, 255).
This is the same operation browsers use for the CSS filter: invert(100%). MDN describes a value of 100% as "completely inverted", while 0% leaves the image unchanged (MDN, "invert()"). The W3C Filter Effects specification defines it as a per-channel transfer that maps each value C to 1 − C on a 0-to-1 scale, which is 255 − C for 8-bit images (W3C, "Filter Effects Module Level 1").
Because the math is a simple subtraction, inversion is perfectly reversible. Invert a PNG twice and you get back exactly the pixels you started with.
The result looks like a photographic negative: "the lightest areas of the photographed subject appear darkest and the darkest areas appear lightest", with reds turning cyan, greens turning magenta, and blues turning yellow (Wikipedia, "Negative (photography)").
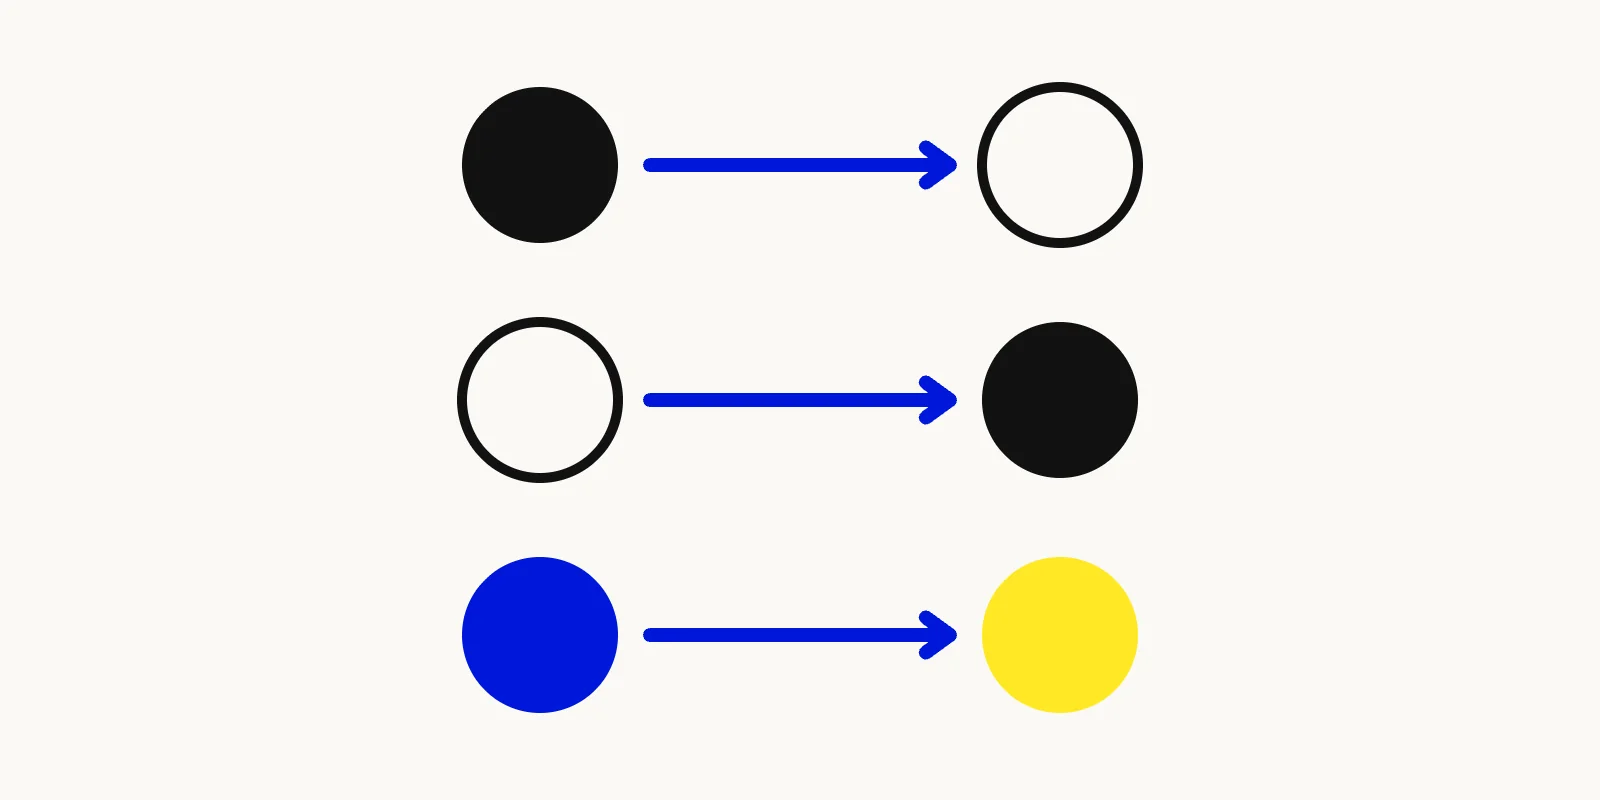
Illustration of a photo next to its inverted negative, with arrows pairing each color with its opposite.
How to invert an image online, step by step
- Open the Image Inverter and drop in one image. JPG, PNG, WebP, AVIF, HEIC, and HEIF are supported, up to 50 MB.
- Check the Keep transparent pixels unchanged option. It's on by default, and it leaves fully transparent pixels exactly as they were. Transparency itself is never changed: a see-through area stays see-through either way.
- Choose PNG, JPG, or WebP for the download. PNG is lossless and keeps transparency. JPG has no transparency, so transparent areas are placed on a white background.
- Click Invert colors, then download the result. The new file has
-invertedadded to its name.
The whole picture is inverted at once; the tool doesn't invert just one region or one color channel. Processing happens on your device, in a background worker inside the browser tab, so the image isn't uploaded anywhere and you don't need an account.
Inverting a photo vs. inverting your screen
Every major operating system has a color inversion setting. They're useful accessibility features, but none of them change the image file:
- iPhone and iPad: Settings > Accessibility > Display & Text Size offers Smart Invert, which reverses colors "except for images, media, and some apps that use dark color styles", and Classic Invert, which "reverses all colors on the display" (Apple Support).
- Mac: System Settings > Accessibility > Display lets you invert colors on the display, either everywhere (Classic) or everywhere except images and video (Smart) (Apple Support, "Change Display settings for accessibility on Mac").
- Android: Settings > Accessibility > Color and motion > Color inversion. Google notes that it "applies to everything on your device, including media" (Android Accessibility Help).
- Windows: Settings > Accessibility > Color filters lets you pick a display filter (Microsoft Support).
These settings follow you, not the picture. When you send the photo to someone else, they see the original colors. To share an inverted image, invert the file itself.
Good reasons to invert an image
- Dark-mode diagrams and slides. A black-line drawing on a white background becomes a white-line drawing on black, which sits better on a dark page or presentation theme. Simple, high-contrast graphics work best; photos usually look strange.
- Reading faint scans. Light pencil on gray paper can be easier to read as light marks on a dark background. Inverting a scanned page is a quick way to check.
- Logos and icons. A dark logo with a transparent background can be inverted to make a light version for dark backgrounds. Leave transparency protection on and save as PNG.
- Creative effects. Negative-style portraits, X-ray-like looks, and album art are all common uses.
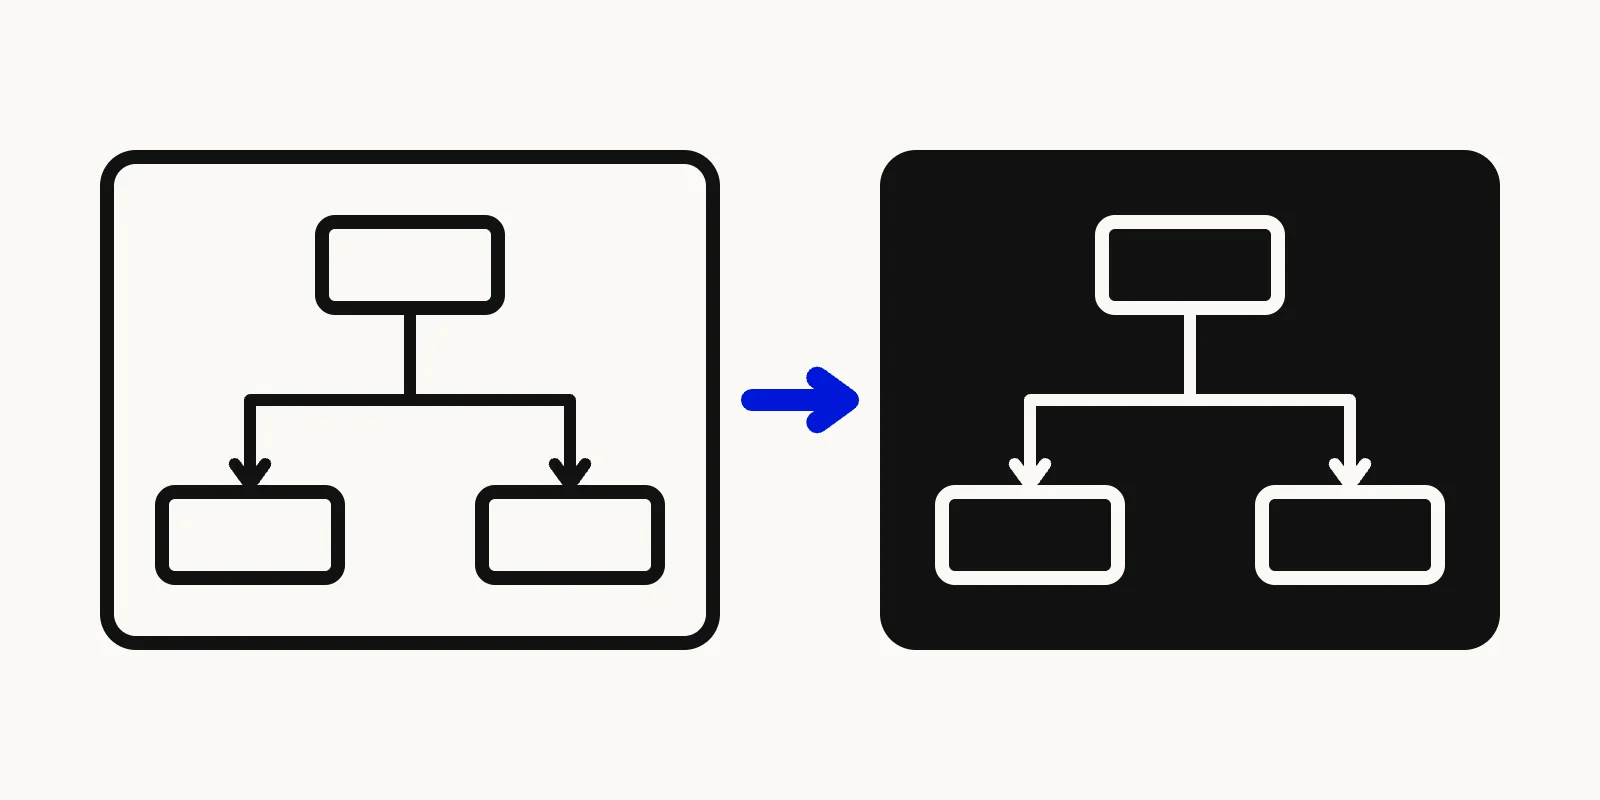
Illustration of a black line diagram on white turned into a white line diagram on a dark background after inverting.
A note on scanning color film negatives
If you photograph or scan an old color negative and invert it, you'll get a positive image, but the colors will probably look wrong. Color negative film has an orange color-correction mask built into its base (Wikipedia, "Photographic film"). A plain inversion turns that orange base into a strong blue-cyan cast that needs separate color correction afterwards. Inverting is a fine first preview, but expect to adjust color balance in a photo editor. Black-and-white negatives don't have this problem and usually invert cleanly.
FAQ: inverting image colors
Does inverting an image reduce quality?
No, as long as you save as PNG. Inversion only changes color values with simple arithmetic, and PNG stores the result without loss. Saving as JPG or WebP adds a light layer of compression, which is fine for viewing and sharing.
How do I turn an inverted picture back to normal?
Run it through the Image Inverter again. Inverting an inverted image restores the original colors exactly when the file was saved losslessly.
Will inverting keep my transparent background?
Yes. The Image Inverter never changes transparency, so save the result as PNG or WebP to keep it. Only JPG, which can't store transparency, fills those areas with white.
Invert your image now
Whether you need a dark-mode version of a diagram or a negative-style effect, inverting takes a few seconds. Open the Image Inverter, drop in your file, and download the inverted copy. If you need to mirror the picture instead of inverting its colors, use the Image Flipper.