

To pixelate an image, you replace small squares of the picture with one flat color each, so the photo turns into a grid of blocks. The Pixelate Image tool does this in your browser: you pick a block size, check the live preview, and download a pixelated copy. One thing to know before you start: it pixelates the whole image. There is no way to select a face or a license plate and pixelate only that.
Quick route
- To turn a whole photo into a blocky, retro-style image, use the Pixelate Image tool. Set Block size (2 to 100, default 12) and click Pixelate image.
- To obscure only part of a photo, this tool is the wrong one. Crop the sensitive part out with the Image Cropper, or use an editor that supports selections, as described below.
- For anything truly sensitive, such as a name, an address, or a card number, cover it with a solid box. Pixelation can leak more than it seems to.
What the Pixelate Image tool does
Pixelation here is block averaging. The image is divided into squares, and every pixel in a square is replaced with the average color of that square. If the image width isn't an exact multiple of the block size, the blocks along the right and bottom edges are smaller and are averaged over just their own pixels. Transparent and semi-transparent pixels are averaged with their transparency taken into account, so a soft edge doesn't pick up a dark halo.
The block size is a number of pixels, from 2 to 100, and it starts at 12. You can drag the slider or type a number. It is measured in pixels of the original image, not as a share of the picture. That matters for two reasons:
- A block size of 12 on a 1,200-pixel-wide photo gives you 100 blocks across. The same 12 on a 4,000-pixel-wide photo gives you about 333, so the effect looks much finer.
- The live preview is drawn from a copy shrunk to at most 1,600 pixels on the long edge, with the block size shrunk by the same ratio, so the blocks you see in the preview match the full-size download.
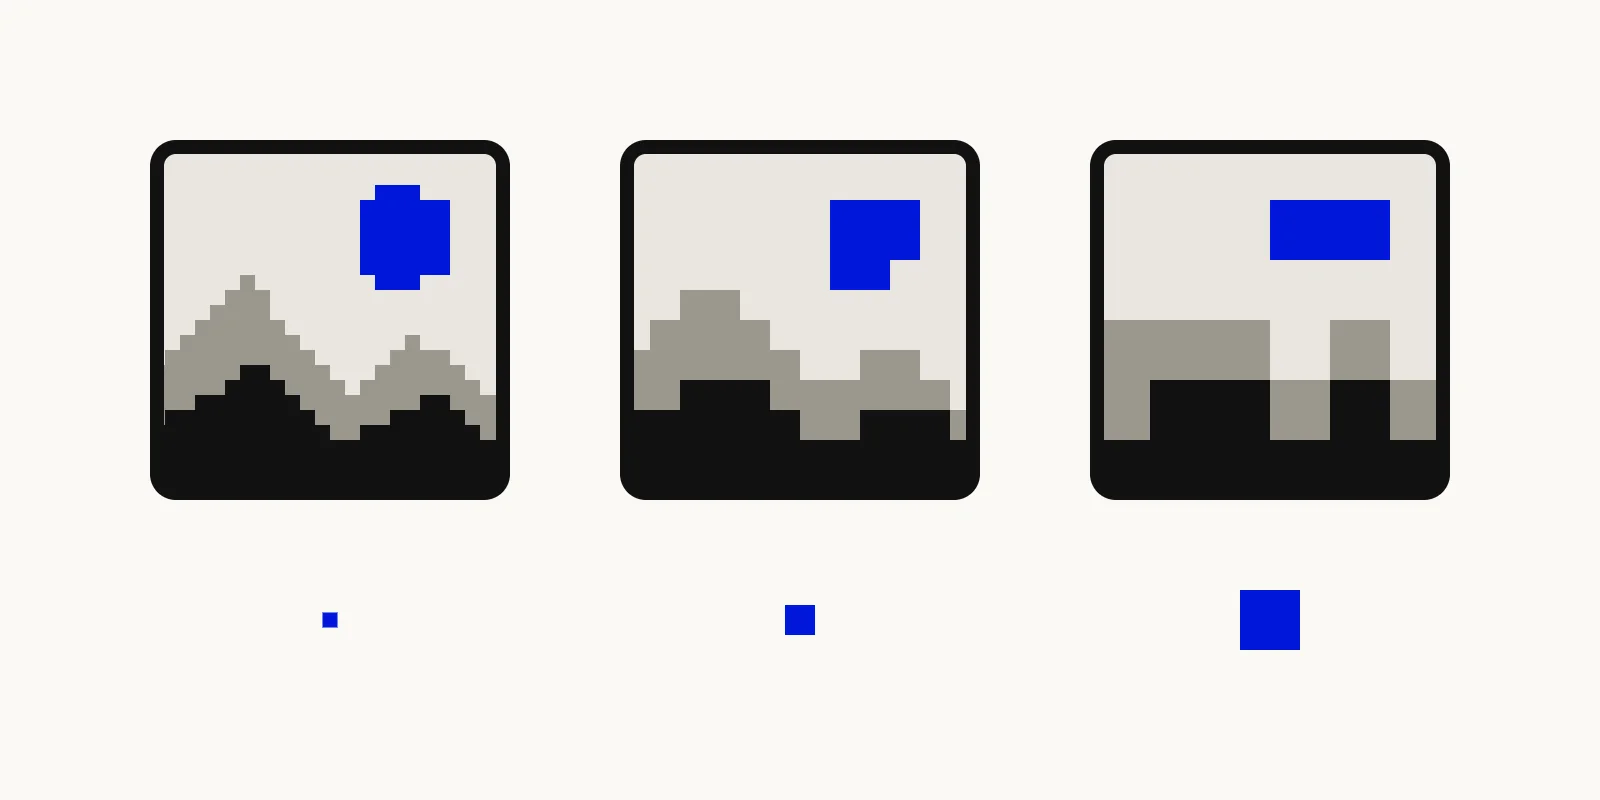
Illustration of the same photo pixelated with a small, a medium, and a large block size, showing detail disappearing as the blocks grow.
How to pixelate an image, step by step
- Open the Pixelate Image tool and choose one image. JPG, PNG, WebP, AVIF, HEIC, and HEIF files are accepted, up to 50 MiB, 40 megapixels, and 16,384 pixels on the longest side. GIF files are not supported, and the tool takes one image at a time.
- Set Block size. Small values (2 to 8) leave the picture readable with a slightly chunky texture. Medium values (10 to 30) give the classic retro look. Large values (40 and up) melt the picture into abstract color squares. Judge by the preview, since the right number depends on your photo's size.
- Pick the Output format: PNG, JPG, or WebP. The default follows your upload: a JPG stays JPG, a WebP stays WebP, and everything else (PNG, AVIF, HEIC, HEIF) becomes PNG. JPG and WebP are saved at quality 0.92. JPG has no transparency, so transparent areas are filled with white.
- Click Pixelate image, then Download pixelated image. The file is named like
photo-pixelated.png, so your original isn't overwritten. If you don't like it, use Back to edit, change the block size, and run it again.
The work happens in your browser, so the photo isn't uploaded and you don't need an account. The new file doesn't carry over the EXIF data of the original, such as camera details or GPS location.
Pixelate vs. blur
Both effects destroy detail across the whole image, but they look and behave differently:
- Pixelate turns the picture into hard-edged squares. The block size sets how coarse the grid is. Shapes stay rough but visible.
- Blur smooths neighboring pixels together. The Image Blur tool has a Blur radius setting from 1 to 50 and a Blur image button, and it also applies to the whole picture.
Pick pixelate for a retro or censored-TV look and blur for soft focus. Neither lets you choose a region.
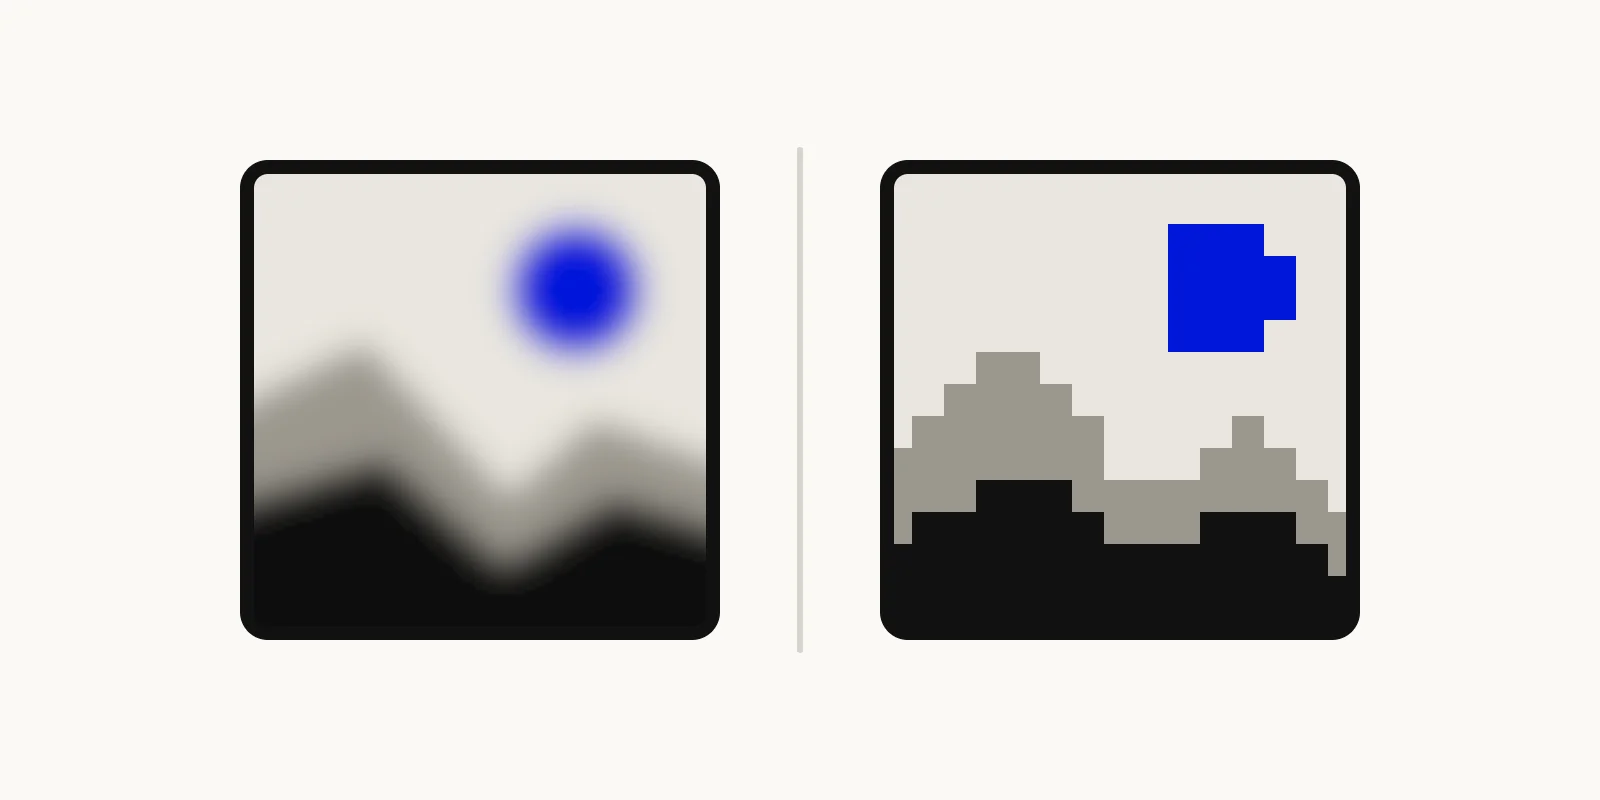
Illustration comparing the same photo pixelated into hard squares and blurred into a smooth haze.
Can you make pixel art from a photo?
Partly. At a large block size, the result does look like pixel art: flat squares of color forming a recognizable picture. But the tool is a mosaic effect, not a pixel-art converter. The output keeps the original width and height, each block is the exact average color of its area, and the number of colors is not reduced. Real pixel art is usually drawn on a tiny canvas with a limited palette, and this tool does neither. For a pixel-style profile picture or stylized post it works well. For a strict low-resolution sprite with a fixed palette, finish it in a dedicated pixel-art editor.
Pixelating part of a picture: what to use instead
If you need to pixelate a face, a screen, or a number while leaving the rest sharp, here are options that actually work:
- Crop it out. If the sensitive part sits near an edge, the Image Cropper removes it completely. Nothing is left to recover.
- Use an editor with selections. GIMP's Pixelize filter is under Filters, Blur, Pixelize, and its block width and height are set in pixels (GIMP manual, Pixelize). When a selection is active, GIMP's filter options let you limit the effect to it: "The output will only affect the selection. The layer outside the selection remains unchanged" (GIMP manual, Common Features).
- For screenshots on Windows, the Snipping Tool can recognize text and offer Quick redact for email addresses and phone numbers in a snip, and the recognition runs locally on your device (Microsoft Support, "Use Snipping Tool to capture screenshots"). It is limited to those two kinds of text, so check the result by eye.
Is pixelation safe for hiding faces or text?
Not for anything that really matters. Pixelation looks destructive, but it keeps a coarse version of the original, and software can learn to read that version.
In 2016, researchers at the University of Texas at Austin and Cornell Tech published "Defeating Image Obfuscation with Deep Learning" (McPherson, Shokri, and Shmatikov, arXiv:1609.00408). Their mosaic method is the same idea as this tool: "The average color of every pixel in each square is computed and the entire square is set to that color." They trained neural networks on images obscured this way and report, among other results:
- Handwritten digits (MNIST): accuracy above 80% when mosaiced with windows of 8 × 8 pixels or smaller, against 10% for random guessing.
- Faces from the AT&T set of 40 people: over 95% accuracy against all the mosaic sizes they tested, against 2.5% for random guessing.
- Celebrity faces (FaceScrub, over 530 people): 57% accuracy with 16 × 16 windows, against 0.19% for random guessing. Plain blurring was also beaten in some tests.
Read those numbers with their limits in mind. The test images were small, and the model was trained on a known set of candidates, so it matched a face to a known list. It did not rebuild an unknown face from nothing. Block sizes in the paper are also measured on those small test images, so they can't be compared to this tool's block size. Still, the lesson is clear: a human squinting at a pixelated image is not the only reader to worry about.
For a face in a public post, that means pixelating may not protect a person who can be matched against known photos. For text, a card number, or an address, treat it as readable. The safe approach is a solid, fully opaque box in an editor that flattens it into the exported image, or cropping the area out. Then open the exported file and check that nothing shows through.
FAQ: pixelating images
Can I pixelate just a face or part of the picture?
Not with this tool. It applies the effect to the whole image, and there is no selection tool. Crop the area out, or use an editor with selections, such as GIMP, as described above.
What block size should I use?
Start at the default of 12 and judge by the preview. Use 2 to 8 for a subtle, slightly chunky texture, about 10 to 30 for a clear retro look, and 40 or more for abstract squares. Because the number is in pixels, larger photos need a larger block size for the same chunkiness.
Does pixelating reduce the file size or the resolution?
The output keeps the original width and height, so the resolution doesn't change. File size depends on the format you choose, and JPG and WebP are saved at quality 0.92. To make the file smaller, use the Image Resizer afterwards.
Pixelate your image now
Open the Pixelate Image tool, drop in a photo, drag the block size until the preview looks right, and download the result. If you want a softer effect instead, the Image Blur tool works the same way.