

To blur a photo, open the Image Blur tool, drop in your picture, drag the Blur radius slider until the preview looks right, and download the result. It runs in your browser, needs no sign-up, and the file is not uploaded. One thing to know up front: it blurs the whole image evenly. There is no brush and no way to blur just a face or just the background, so this post also covers what to use for that.
Quick route
- Want the whole picture soft, for a slide background, a wallpaper or a dreamy look? Use the Image Blur tool.
- Want a sharp subject with a blurred background? Use Portrait mode on iPhone or the Background blur option in the Windows Photos app. Both are explained below.
- Want to hide private details such as a face, an address or a number? Do not rely on blur. Crop the detail out with the Image Cropper or cover it with a solid block.
What the blur tool does (and what it does not)
The tool applies one blur to every pixel of the picture. The code runs three passes of a box blur, which approximates a Gaussian blur. The strength is a radius in pixels, from 1 to 50, and it starts at 8. Edge pixels are replicated rather than faded to black, and transparent areas are handled so that an opaque subject does not get a dark halo.
Here is what it cannot do. You cannot draw a box or a brush stroke and blur only that area. You cannot pick a subject and blur everything behind it. It also handles one file at a time, with no batch mode and no ZIP. If you need either, skip to the section on blurring only part of a photo.
How to blur a photo online, step by step
- Open the Image Blur tool and choose or drop one image. JPG, PNG, WebP, AVIF, HEIC and HEIF are accepted, up to 50 MiB. The image can be at most 40 megapixels and 16,384 pixels on its longest side. GIF files are rejected.
- Drag the Blur radius slider, or type a number from 1 to 50 in the box next to it. The preview redraws a moment after you stop moving the slider.
- Open Output format and pick PNG, JPG or WebP. JPG sources default to JPG, WebP sources default to WebP, and everything else defaults to PNG.
- Click Blur image. The result appears at full resolution. Click Download blurred image to save it, or Back to edit to change the radius and try again.
The saved file gets -blurred added to its name, so beach.jpg becomes beach-blurred.jpg and your original is never overwritten. JPG and WebP are saved at quality 0.92. Because the image is re-encoded in your browser, EXIF data such as location and camera model is not carried into the new file. If you pick JPG, transparent areas are filled with white. PNG and WebP keep transparency.
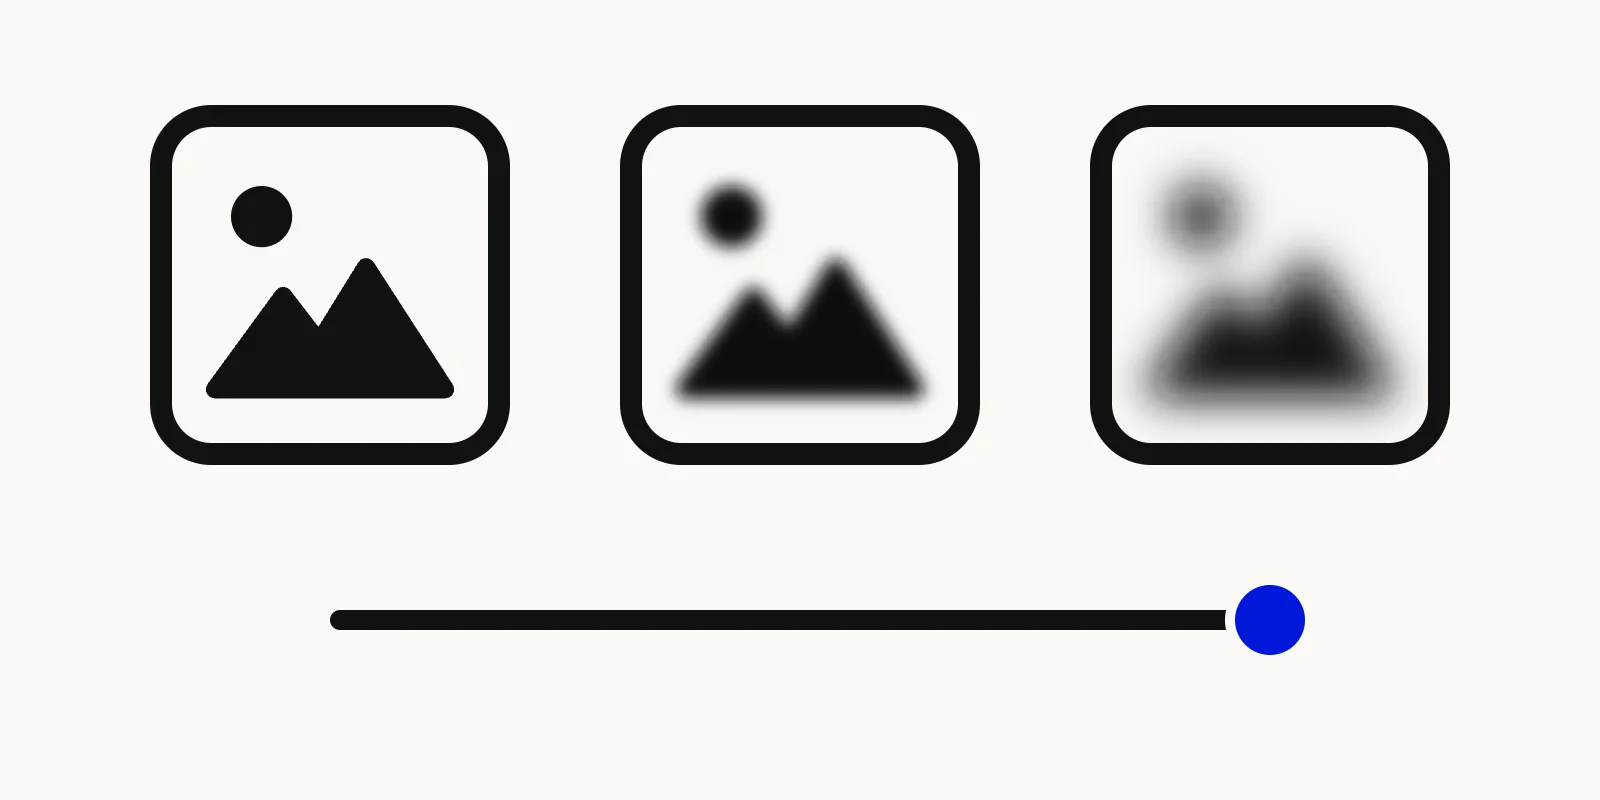
Illustration of the same photo with no blur, medium blur and strong blur next to a blur radius slider.
How strong should the blur be?
The radius is measured in pixels, so the same number looks gentler on a large photo than on a small one. A radius of 8 barely softens a picture that is 4,000 pixels wide, but it is quite visible on one that is 800 pixels wide.
To stay fast, the live preview is drawn from a copy scaled down to at most 1,600 pixels on the long side, and the radius is scaled down with it, so the preview shows how strong the blur will be in the full-size download. Glance at the result screen before you download anyway. If it is too sharp or too soft, click Back to edit and change the radius.
As starting points, a radius of roughly 1 to 10 takes the edge off fine detail while keeping shapes recognizable. Values around 30 and above turn most detail into soft color patches, which is what you want behind text. Move the slider in small steps and judge by eye, because the right number depends on the photo and what it is for.
What a blurred photo is good for
- Backgrounds behind text. A blurred photo keeps the colors and mood but removes the detail that fights with a headline. Blur it heavily, then place your text card on top in your slide or design app.
- Wallpapers and covers. A soft version of a landscape or city shot makes a calm phone or desktop background. If the aspect ratio is wrong, fix that first with the Image Cropper or the Image Resizer, then blur.
- A dreamy, out-of-focus look. A light blur on an overly crisp or noisy picture can read as a deliberate soft-focus effect.
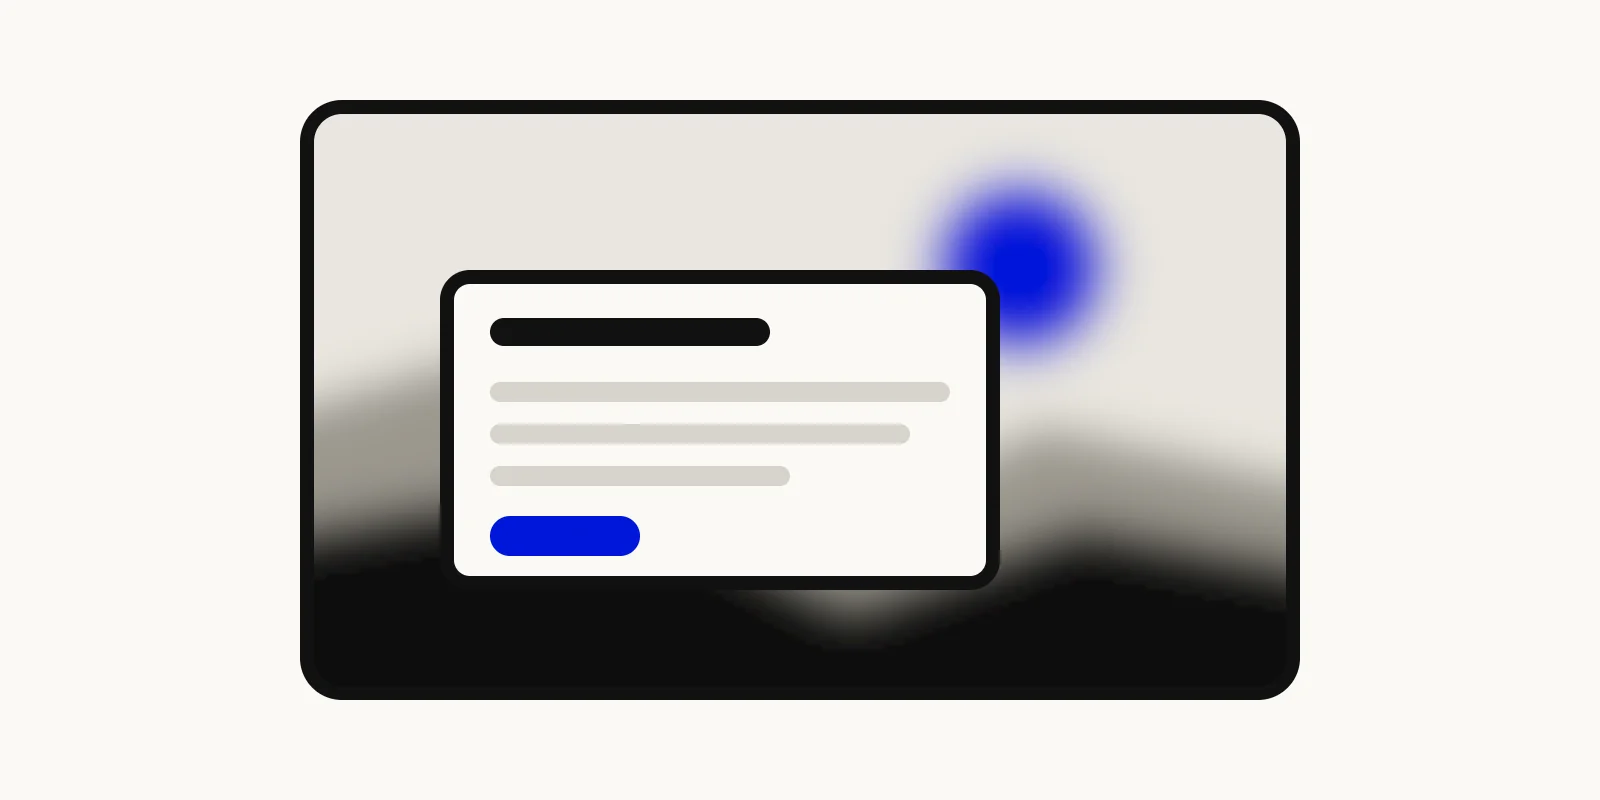
Illustration of a blurred landscape photo used as a background behind a sharp white text card.
How to blur only part of a photo
The most common request is a sharp subject in front of a blurred background. That needs software that can tell the subject from the background, and the Image Blur tool does not do that. These built-in options do.
iPhone, Portrait mode photos. Open the photo in Photos, tap the edit button, and drag the Depth Control slider at the bottom of the screen to raise or lower the background blur. Tap Done to save. Apple says that on supported models, photos with a person, dog or cat taken in Photo mode can also become portraits in Photos, and you can then adjust the background blur the same way (Apple Support, "Edit Portrait mode photos on iPhone").
Windows, Photos app. Open the photo, select Edit image (or press Ctrl + E) and choose the Background panel. The app picks the background automatically, and you can refine the selection with the Background brush tool. Then select Blur, set Blur intensity with the slider and select Apply. Microsoft states that the background detection runs locally on your device (Microsoft Support, "Edit photos and videos in Windows").
Android, Google Photos. Google lists portrait blur among the editing features in Google Photos, but notes that some features depend on the device and certain ones are available only on Pixel (Google Photos Help, "Edit your photos & videos"). If you do not see it, check your phone's own camera or gallery app.
Crop instead of blur. If you only need to remove a distracting part of the frame, the Image Cropper cuts it out. You can also crop a region, blur that crop with our tool and paste it back over the original in another image editor, but our tools do not combine the two layers for you.
Blur is not a safe way to hide sensitive information
It is tempting to blur a license plate, an address or a face before posting. Be careful, because a blur changes pixels in a predictable way and does not delete the information. Wikipedia describes deblurring as the problem of recovering a sharp image from a blurred one. It is hard and has no single answer, but with a known blur pattern a sharp image can in principle be recovered by deconvolution (Wikipedia, "Deblurring").
Safer options are available:
- Crop it out. The Image Cropper exports only the area inside the crop frame, so anything outside it is not in the saved file.
- Cover it with an opaque block. In Google Photos on Android, the Markup tool has a Redact option for blurring or removing sensitive info. Google says that when you share a redacted photo, other people cannot undo the edit or uncover the hidden pixels (Google Photos Help, "Edit your photos & videos").
Use blur for looks, not for secrecy. The Pixelate Image tool has the same whole-image limit, so it does not solve the problem of hiding one area either.
FAQ: blurring photos
Can I blur just a face or the background of a photo with this tool?
No. The Image Blur tool applies the same blur across the entire image and has no brush or selection. For a blurred background, use Portrait mode on iPhone or Background blur in the Windows Photos app. For a face you need to hide, crop it out or cover it with a solid block.
Will blurring ruin my photo quality or file?
The blur removes fine detail by design, so keep your original. Saving as PNG adds no extra compression loss, while JPG and WebP are saved at quality 0.92. The tool works at the image's original resolution and never uploads the file.
Can I undo a blur later?
Not from the blurred file. The tool saves a new copy and leaves your original untouched, so open the original again and pick a different radius. Inside the tool, Back to edit returns you to the slider before you download.
Blur your photo now
If the whole picture should be soft, the Image Blur tool takes about a minute: upload, set the Blur radius, check the result and download. For a sharp subject over a blurred background, use the Portrait or Background blur options above.