

If a JPG or PNG is too big to upload, email, or load quickly on a page, the fastest free fix is the Image Resizer paired with the image converter. There is no single "compress" button that shrinks a file while leaving every pixel untouched — file size drops when you either reduce the pixel count or let a format discard some data. This guide shows exactly how to do both, honestly, without the vague promises of a mystery "optimizer."
Quick route
- Use the Image Resizer to cut the pixel dimensions, which is the single biggest lever on file size.
- Use PNG to JPG when a PNG screenshot or graphic doesn't need transparency.
- Use PNG to WebP or JPG to WebP when you want a smaller file in a format that still supports transparency.
Why your file is still too big
Three things drive a raster image's file size: how many pixels it has, how many colors or how much transparency it stores, and how much the format is allowed to discard. PNG uses lossless compression, so it keeps every pixel's exact color (MDN Web Docs, "Image file type and format guide") — reliable for text and UI, but large for anything with a lot of detail or a photo-like gradient. A JPG straight off a modern phone camera is already compressed, but the pixel count alone can still put it in the multi-megabyte range. Neither problem has a single fix; both respond to the same two levers: fewer pixels, or a format that compresses more aggressively.
Three honest ways to shrink a file
1. Resize the dimensions first
This is the lever with the largest effect, and it's the one most "compressor" tools quietly skip because it changes the image's dimensions instead of just its encoding. A photo that is 4000×3000 pixels has 12 million pixels to store. Resized to 1600×1200, it has under 2 million — about a sixth as many — and the file shrinks accordingly, often by far more than any quality adjustment alone would achieve. The Image Resizer works on a batch of files at once, accepts an exact pixel size (1 to 10,000 px per side) or a percentage (10% to 300%), and keeps the aspect ratio locked if you want it. If you only need the image to display at 1200 px wide on a web page, there's no reason to keep it at 4000 px — those extra pixels add weight with no visible benefit at that display size.
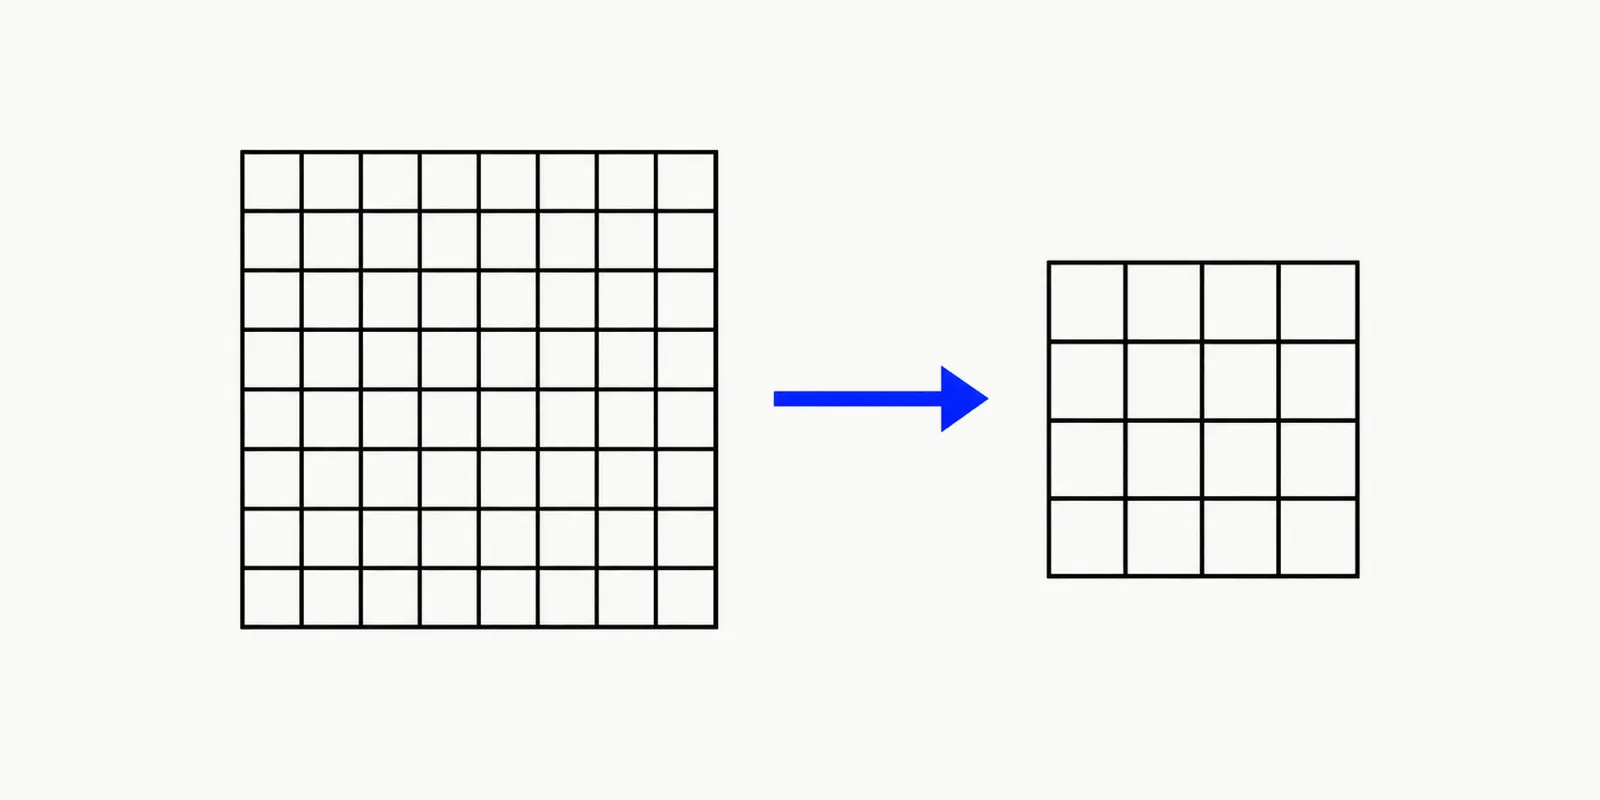
Illustration of an oversized photo being resized down to a smaller pixel grid before export.
2. Lower the JPG or WebP quality setting
JPG and WebP are lossy formats: they're allowed to approximate pixel data to save space, and a quality slider controls how much approximation happens (MDN Web Docs on lossy compression). When you convert or re-export through the converter, JPG and WebP outputs expose a quality slider from 10 to 100. Dropping from a high setting like 90 to a moderate one like 70–75 typically reduces file size noticeably with a difference that's hard to spot at normal viewing distance, especially on a photo. Text, line art, and screenshots show quality loss sooner than photos do, so test a lower setting on a sample image before batch-converting a whole folder. PNG has no quality slider at all, because PNG is lossless by design — which is exactly why step 3 matters for PNG files.
3. Switch to a more size-efficient format
If a PNG doesn't actually need transparency — a screenshot, a flat-color graphic, a photo someone saved as PNG by habit — converting it to JPG with PNG to JPG usually produces a much smaller file, because JPG's lossy compression is built for exactly this kind of continuous-tone content. If the image does need transparency, WebP is the better target: PNG to WebP keeps the alpha channel while still compressing more efficiently than PNG in most cases, per Google's own WebP documentation. For JPGs that are already reasonably sized but need to go smaller for a page or app, JPG to WebP is worth testing too — WebP is supported by every modern browser now, so compatibility is rarely the blocker it used to be.
Step-by-step: resize and re-export in your browser
- Open the Image Resizer and upload one image or a batch.
- Enter a pixel width and height, or pick a percentage, and keep "maintain aspect ratio" on unless you specifically want a different shape.
- Resize keeps the original format: a JPG stays JPG, a WebP stays WebP, and anything else exports as PNG. If you need a different output format, that's a separate step.
- For format changes or a quality adjustment, open the image converter, choose PNG, JPG, or WebP as the output, and for JPG or WebP, drag the quality slider to taste.
- Download the result, or download all of them together as a ZIP if you're processing a batch of up to 20 files (each up to 50 MB).
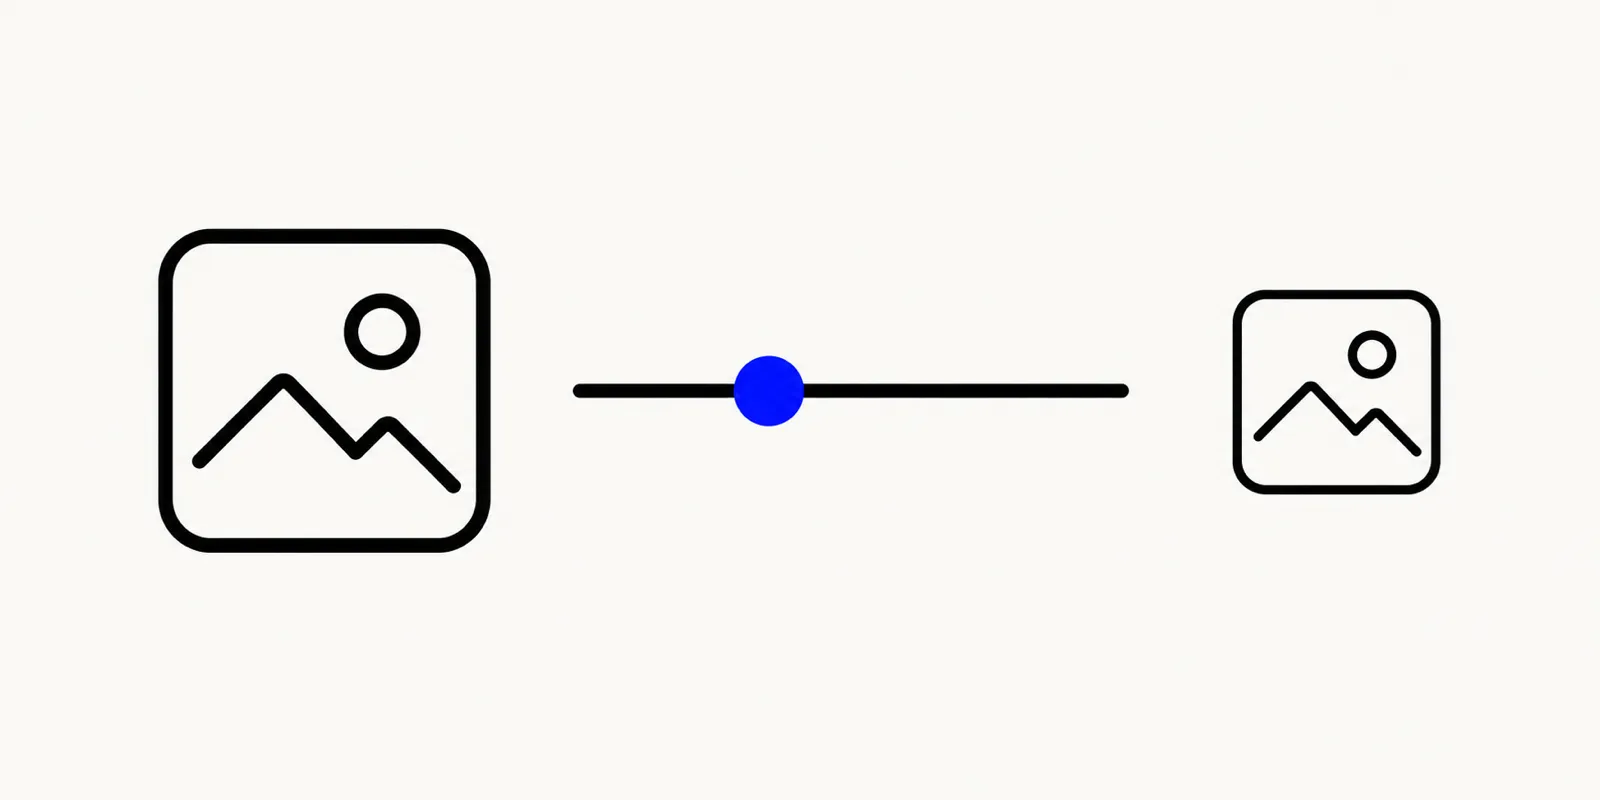
Illustration of a quality slider between a large original file and a smaller exported file.
Everything above runs in your browser — files are not uploaded to a server — and there's no sign-up required for any of it.
What won't actually reduce file size
A few expectations worth resetting before you go looking for a magic switch:
- There's no "compress without changing anything" button here. Any real size reduction comes from fewer pixels (resize), a lossy format's quality setting (JPG/WebP), or switching formats — not from a toggle that re-packs the exact same pixels into a smaller file for free. This tool does not include a standalone byte-level optimizer.
- Re-saving a PNG at the same dimensions won't shrink it much. PNG compression is lossless and already fairly efficient for its encoding; if the pixel count and color data haven't changed, there isn't much left to squeeze.
- There's no target-file-size input. You set pixel dimensions or a percentage, and for JPG/WebP a quality percentage — not a "make this exactly 200 KB" option. Get there by iterating: resize, check the result, adjust quality, repeat if needed.
- Upscaling adds pixels, not detail. Making a small image bigger increases its file size but doesn't add information that wasn't there; it won't turn a blurry photo sharp.
FAQ: reducing image file size
What's the fastest way to make a JPG smaller?
Resize it to the dimensions you actually need in the Image Resizer — pixel count is the biggest factor in JPG file size. If it's still too big, re-export it through the converter at a lower JPG quality setting.
How do I compress a PNG without losing transparency?
Resize the PNG to smaller dimensions first, then convert it with PNG to WebP. WebP keeps the alpha channel and is typically more size-efficient than PNG for the same content.
Is there a tool that reduces file size without resizing or changing format?
Not here, and we'd rather say so than imply one exists. Dimensions, quality setting, and format are the three real levers; a tool that claims to shrink a file with none of those changed isn't doing anything you couldn't verify yourself by checking the before/after pixel dimensions.
Shrink your next upload
Start with the Image Resizer to cut dimensions down to what you'll actually display, then finish with the image converter to pick JPG or WebP and dial in a quality setting that keeps the file small without a visible quality hit. Both run free in your browser, with no account and no upload to a server.