

1. Introduction: Why Carousels Win in 2026
Note (2026 update): Public, large-scale engagement benchmarks are still most consistently published for 2025.
This guide is written for 2026 workflows, using the latest widely cited benchmarks as evidence.
In 2026, Instagram is more competitive than ever — and format choice is strategy, not aesthetics.
Carousels are consistently the highest-engagement post type in recent benchmarks:
- Sprinklr (2025): Instagram carousel posts average 1.92% engagement, outperforming images (1.74%) and videos (1.45%).
- Buffer (2025, 4M+ posts): Carousels get 12% more engagement than Reels, 114% more than static images, and the highest save rate across post types.
Why Carousels Outperform (Algorithmically)
Carousels don’t just “feel” more engaging — they create a loop the algorithm tends to reward:
- More swipes → longer dwell time on a single post
- Longer dwell time → stronger quality/relevance signal
- Stronger signals → wider distribution (including non-followers)
- More distribution → more likes/comments/shares/saves
- More interactions → even more distribution (compounding effect)
Bottom line: choosing a carousel is a deliberate move to maximize attention, saves, and repeat value.
2. Before You Start: Dimensions, Aspect Ratio, and Slide Count
- Recommended slide size: 1080 × 1350 (4:5) for maximum feed impact
- Slide count: Instagram supports up to 10 slides in many accounts; best practice is 3–6 for higher completion rates
- Keep text/logos away from left/right edges where seams occur
- Maintain continuity: align horizon lines, backgrounds, and key shapes so they flow cleanly across slices
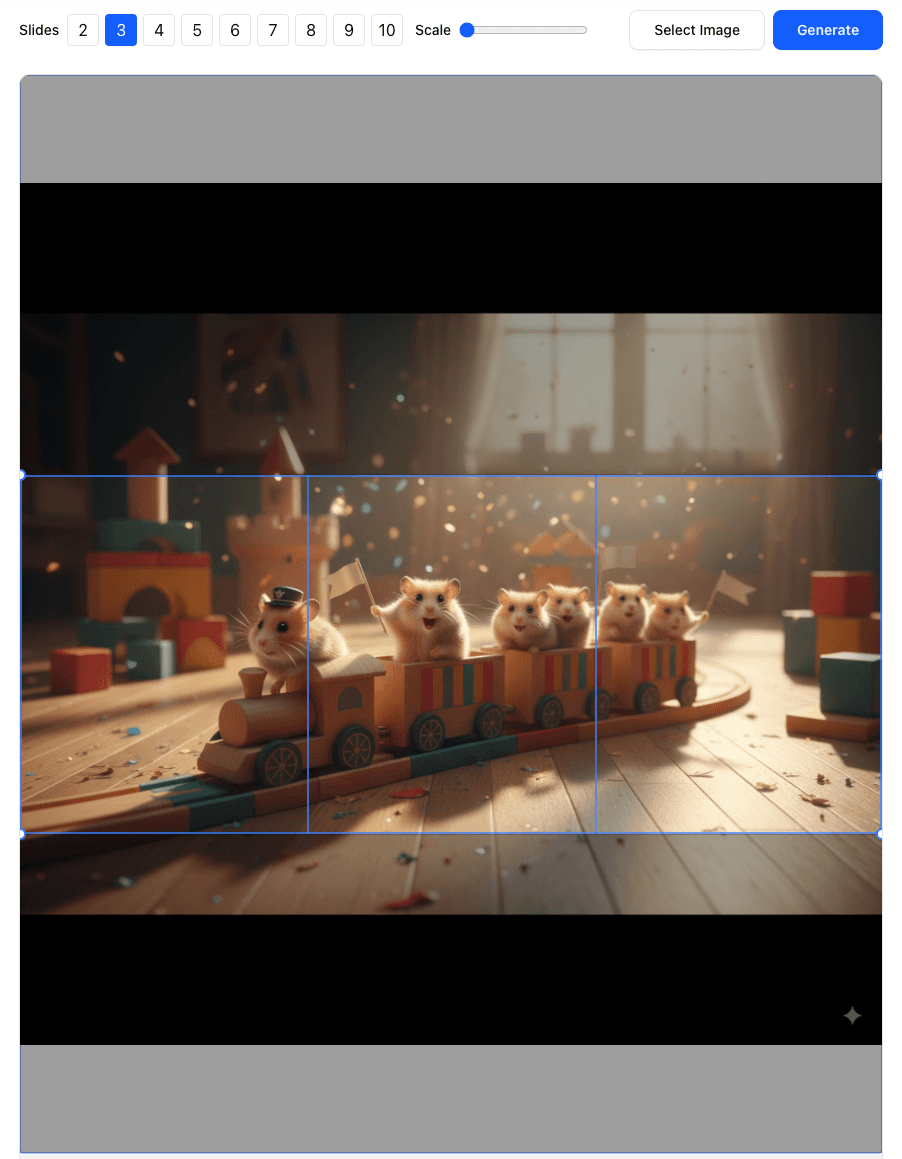
3. Step-by-Step: Build a Seamless Instagram Carousel (with an Image Splitter)
Step 1 — Open the Carousel Splitter and Upload
We’ll demonstrate with a wide artwork and export a 3-slide seamless carousel. No installs. No sign-in. Everything runs in your browser.
Open AImageTools Instagram Carousel Splitter and upload the wide image you want to turn into a clean swipe.

Step 2 — Configure Slide Count (1 Row)
Set Rows to
1.Set Columns to your slide count (e.g.,
3or4).If your UI shows Rows per Column, keep it at
1and control the slide count with the column/slide selector.Drag the vertical guides to fine-tune boundaries and keep key subjects away from seam lines.
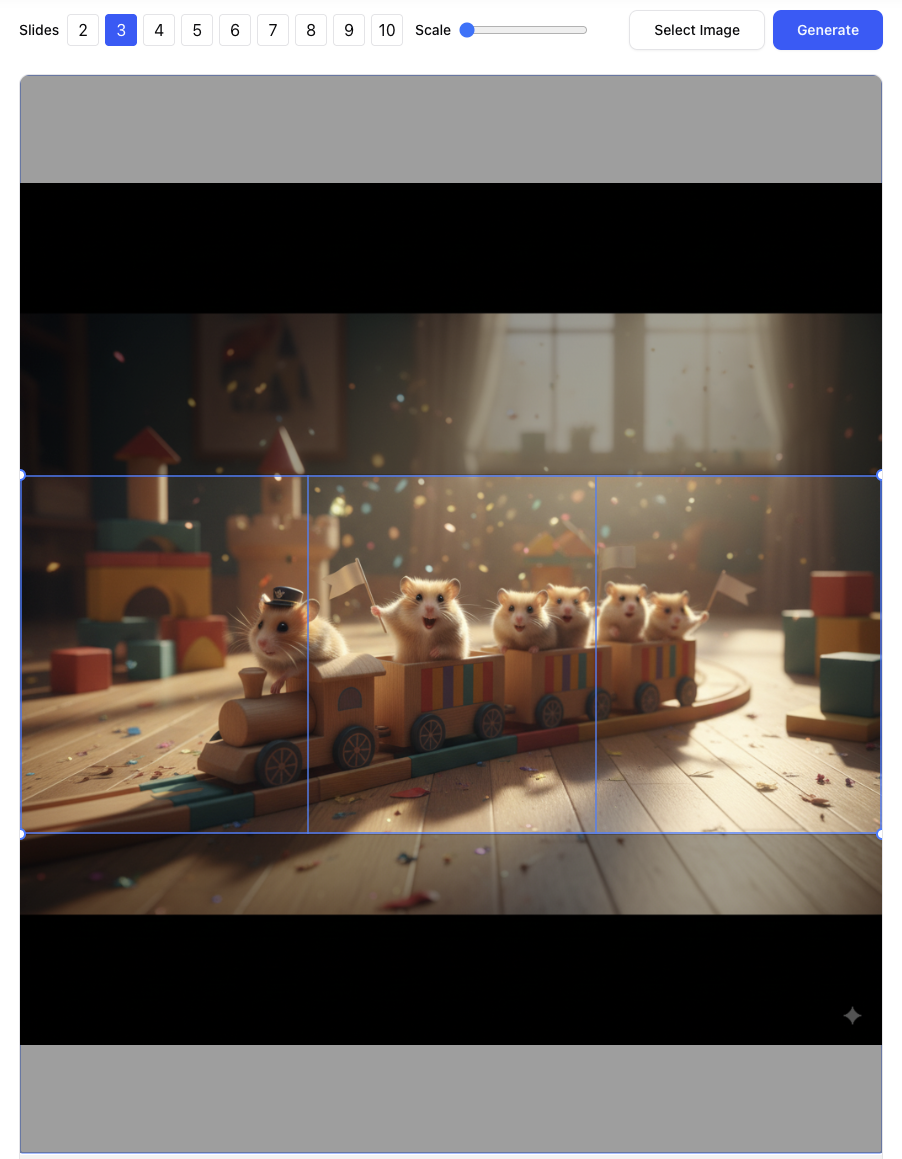
Step 3 — Preview and Export
Click Split Preview to generate slices.
Review transitions — edges should line up cleanly for a perfect swipe.
Export via Download All Pieces or Download as ZIP.
Fast workflow: upload → set Rows = 1 → choose slide count → Split Preview → export.

Step 4 — Publish on Instagram
- Tap the multi-select icon and choose images in left-to-right order (Slide 1 → 2 → 3 → 4).
- Keep each image at 4:5 if Instagram prompts for cropping; avoid auto-zoom that can clip edges.
- Do a final swipe preview to confirm seams are clean, then publish.
4. Pro Tips for Clean, Seamless Results
- Aim for 3–6 slides for stronger completion and saves; go up to 10 for deep stories
- Keep faces, text, and logos a few pixels away from seam boundaries to prevent micro-jumps
- For photos: export high-quality JPG (85–90) in sRGB
For UI/illustrations: export PNG for crisp edges - Test once on a private account (or Close Friends) if it’s a campaign-critical carousel